
インストール
CentOS 7では、MariaDBをインストールする際はリポジトリの追加などをする必要がありませんので、そのままyumコマンドを使用しインストールを行います。
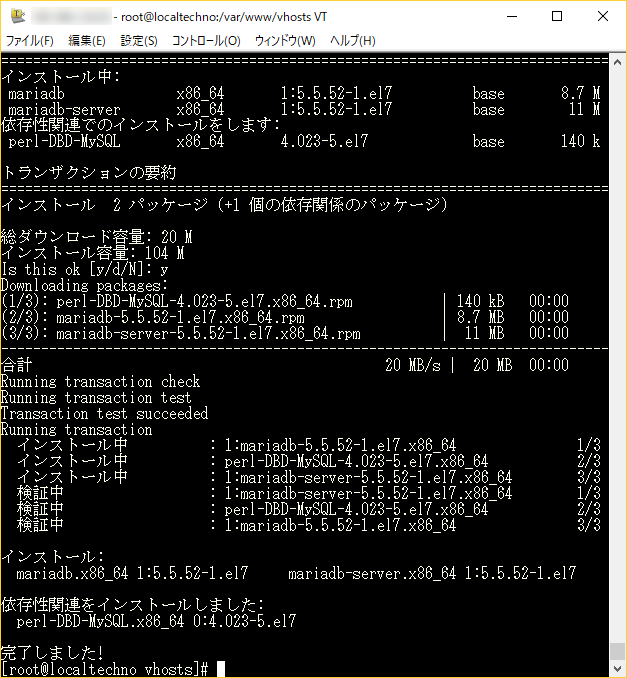
# yum install mariadb mariadb-server
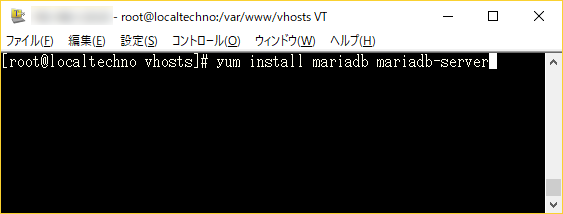
インストール中に、確認画面が出たら「y」を入力しエンターキーでインストールを完了させて下さい。
インストールされたバージョンの確認
SSHで rpm -qa | grep maria を入力して実行すると以下のような画面が表示されれば正常にインストールがされています。
# rpm -qa | grep maria
mariadb-5.5.52-1.el7.x86_64
mariadb-libs-5.5.52-1.el7.x86_64
mariadb-server-5.5.52-1.el7.x86_64
※2017年8月現在インストールされるバージョンとなります。
初期設定
設定ファイルは/etc/my.cnfになりますので、このmy.cnfを編集し文字コードを設定しておきます。
[mysqld]
datadir=/var/lib/mysql
socket=/var/lib/mysql/mysql.sock
# Disabling symbolic-links is recommended to prevent assorted security risks
symbolic-links=0
# Settings user and group are ignored when systemd is used.
# If you need to run mysqld under a different user or group,
# customize your systemd unit file for mariadb according to the
# instructions in http://fedoraproject.org/wiki/Systemd
character-set-server=utf8
[mysqld_safe]
log-error=/var/log/mariadb/mariadb.log
pid-file=/var/run/mariadb/mariadb.pid

#
# include all files from the config directory
#
!includedir /etc/my.cnf.d
起動と自動起動設定
systemctl コマンドを使用してMariaDBのサービスを自動起動する設定を行います。その後、MariaDBを起動します。
# systemctl enable mariadb
# systemctl start mariadb
MariaDBの初期設定
続けてMariaDBの初期設定を行います。
MariaDBには、初期セットアップコマンドがあり、対話式でインストールが出来ますので、簡単に初期設定が終わります。
※セットアップの途中でパスワードを入力する箇所がありますので、そのパスワードは忘れないように注意しましょう。
# mysql_secure_installation

NOTE: RUNNING ALL PARTS OF THIS SCRIPT IS RECOMMENDED FOR ALL MariaDB
      SERVERS IN PRODUCTION USE!  PLEASE READ EACH STEP CAREFULLY!

In order to log into MariaDB to secure it, we'll need the current
password for the root user.  If you've just installed MariaDB, and
you haven't set the root password yet, the password will be blank,
so you should just press enter here.

Enter current password for root (enter for none):[enter]
OK, successfully used password, moving on...

Setting the root password ensures that nobody can log into the MariaDB
root user without the proper authorisation.

Set root password? [Y/n][enter]
New password:[パスワード入力]
Re-enter new password:[パスワード入力]
Password updated successfully!
Reloading privilege tables..
 ... Success!

By default, a MariaDB installation has an anonymous user, allowing anyone
to log into MariaDB without having to have a user account created for
them.  This is intended only for testing, and to make the installation
go a bit smoother.  You should remove them before moving into a
production environment.

Remove anonymous users? [Y/n] [enter]
 ... Success!

Normally, root should only be allowed to connect from 'localhost'.  This
ensures that someone cannot guess at the root password from the network.

Disallow root login remotely? [Y/n] [enter]
 ... Success!

By default, MariaDB comes with a database named 'test' that anyone can
access.  This is also intended only for testing, and should be removed
before moving into a production environment.

Remove test database and access to it? [Y/n] [enter]
 - Dropping test database...
 ... Success!
 - Removing privileges on test database...
 ... Success!

Reloading the privilege tables will ensure that all changes made so far
will take effect immediately.

Reload privilege tables now? [Y/n] [enter]
 ... Success!

Cleaning up...

All done!  If you've completed all of the above steps, your MariaDB
installation should now be secure.

Thanks for using MariaDB!
上記まで終わるとMariaDBの初期設定が終わってますので、後は、phpMyAdminなどをインストールを行い、ユーザー作成を行って下さい。
[ad#g]
[ad#g]


導入のメリットと失敗しない選び方")
